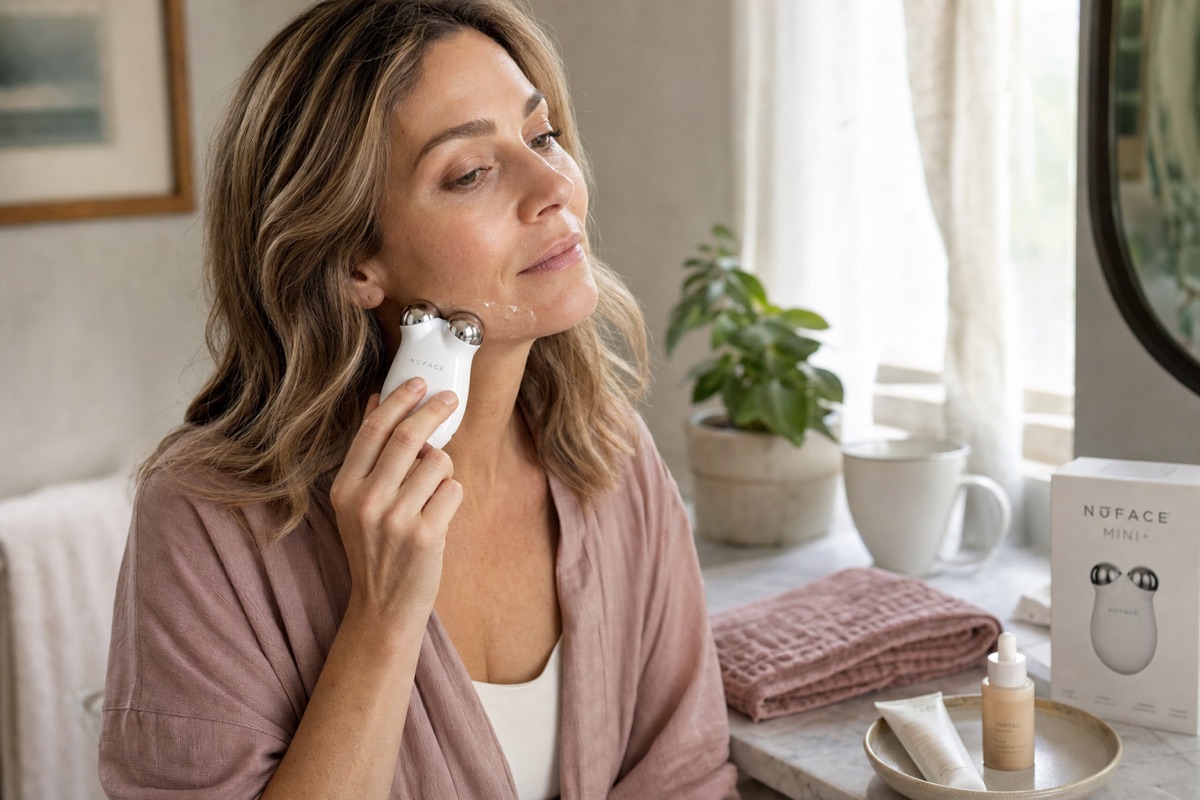
How to Use a Microcurrent Device Correctly: Skin Prep, Gel, Maps, and Safety
An evidence-led 2026 guide to using an at-home microcurrent device correctly, including skin prep, conductive gel, lifting maps, timing, and contraindications.
Based on 4 PubMed-indexed home-device records, NUFACE official use pages, and an Amazon US snapshot of 56 MINI+ ratings, correct microcurrent use starts with clean skin, a water-based conductive gel, slow upward passes, and strict avoidance when a manufacturer or clinician lists a contraindication.
Editor's top Amazon picks for this guide
Real Amazon products that match this protocol. Affiliate links — your purchases support BeautySift.

NUFACE
NUFACE MINI+ Microcurrent Face Massager Device
$250
"A compact microcurrent device for users who want a short, repeatable contouring routine; Amazon snapshot shows 3.7/5 across 56 ratings."

Solawave
Solawave 4-in-1 Red Light Therapy Wand
$169
"A lower-cost beauty-tech wand for users who prefer small-area sessions; Amazon snapshot shows 4.2/5 across 1,141 ratings."

CurrentBody Skin
CurrentBody Skin LED Light Therapy Mask: Series 2
$469.99
"A full-face red-light alternative when the goal is repeated skin-quality support rather than same-day microcurrent contouring."
Olay
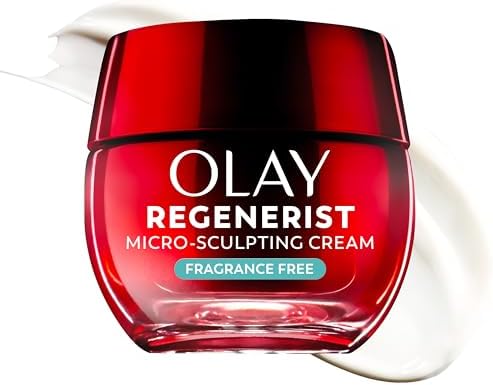
Olay Regenerist Micro-Sculpting Cream Fragrance-Free
$23.94
"A fragrance-free moisturizer lane for barrier support on non-device steps; useful because irritated skin is a poor surface for device routines."
What you'll learn
- Microcurrent works only when current can travel through a water-based conductive layer; using it on dry skin can cause stinging and uneven glide.
- The most defensible at-home goal is temporary lifted-looking contour or de-puffing, not a substitute for surgery, filler, ultrasound lifting, or prescription care.
- Use slow upward and outward passes, keep contact even, and stop when skin stings, burns, develops a rash, or the device instruction manual says to stop.
- Contraindications matter more than consistency; skip use until cleared if you have an implanted electrical device, seizure history, active skin infection, recent procedure, or pregnancy-related device restriction.
Steps
-
1 Step 1: Confirm that microcurrent is appropriate for you
Read the current device manual before the first session. Do not use a microcurrent device over a manufacturer-listed contraindication, and ask a clinician first if you have an implanted electrical device, seizure history, active cancer treatment, a recent facial procedure, broken skin, active infection, or pregnancy-related device restrictions. FDA clearance and brand studies do not mean every person should use the device.
-
2 Step 2: Start with clean, dry, non-irritated skin
Remove makeup, sunscreen, oil cleanser residue, and heavy moisturizer before applying conductive gel. Microcurrent routines fail when the device has to slide over oil, grit, exfoliating acids, or inflamed patches. If skin is stinging from retinoids, peels, sunburn, windburn, or over-exfoliation, pause the device until the barrier feels calm again.
-
3 Step 3: Apply enough water-based conductive gel
Use a dedicated microcurrent activator or a compatible water-based conductive gel recommended by the device maker. The gel should stay wet while you work; reapply if it dries. Avoid using the device over dry skin, facial oils, occlusive balms, or exfoliating acid serums because they do not provide the same conductive slip and may increase irritation.
-
4 Step 4: Follow a simple lifting map
Work in zones instead of dragging randomly. For cheeks, glide from the corner of the mouth toward the ear, then from the side of the nose toward the temple. For the jawline, glide from chin to ear while keeping the device flush. For brows, lift from under the brow toward the hairline only if the manual allows that placement. Stay away from the thyroid area and do not pass directly over the eyeball.
-
5 Step 5: Move slowly and keep both spheres or electrodes in contact
A practical pace is a slow three-to-five-second glide per pass, repeated in the pattern recommended by the device. More pressure is not better; even contact is the goal. If the device beeps, loses contact, or tugs, add more gel and reset the angle instead of pressing harder.
-
6 Step 6: Keep expectations tied to the evidence
Brand-funded consumer questionnaires can report high satisfaction numbers, such as NUFACE's 60-day claims on forehead lines and neck sagging, but those are not the same as an independent blinded surgical-lift comparison. BeautySift's evidence weighting treats microcurrent as a temporary contour and maintenance category, while retinoids and red-light literature carry stronger support for longer-term skin-quality changes.
-
7 Step 7: Rinse, moisturize, and track irritation
After the session, remove excess gel unless the product directions say otherwise, then apply a bland moisturizer. Take baseline photos in the same lighting once every two weeks rather than judging every morning. Stop and reassess if you notice persistent redness, burning, headache, twitching that feels unusual, rash, or worsening sensitivity.
What microcurrent can realistically do
Microcurrent devices send low-level electrical current through the skin surface when the device is paired with a conductive gel. In beauty marketing, that often gets translated into “lifting” language. BeautySift uses a narrower claim: microcurrent may help some users see a temporary lifted-looking or less puffy contour when they use the device consistently and correctly.
We did not test a device on a BeautySift panel. We analyzed 4 PubMed-indexed records related to home or energy-based facial rejuvenation devices, NUFACE official education pages, FDA clearance framing, and Amazon US product snapshots for available at-home beauty-tech products. The evidence base is thinner than the evidence for retinoids or red and near-infrared LED, so the right use pattern matters.
Affiliate disclosure: we may earn a commission on links. Affiliate availability does not influence our evidence weighting.
The correct order: cleanse, gel, glide, moisturize
Use this order for most at-home microcurrent routines unless your exact device manual says otherwise.
- Cleanse thoroughly. Remove makeup, sunscreen, and oil residue so the conductive gel can sit evenly on skin.
- Keep skin calm. Do not use the device on sunburn, active dermatitis, open blemishes, broken skin, or a fresh procedure site.
- Apply enough conductive gel. The surface should feel slippery and wet through the whole pass.
- Work in zones. Treat cheeks, jawline, and brow areas according to the brand’s map instead of dragging the device randomly.
- Move slowly. Maintain even electrode contact; do not press hard.
- Rinse or leave on as directed. Finish with a simple moisturizer and sunscreen if it is morning.
Conductive gel is not optional
Conductive gel is the difference between a controlled device routine and a scratchy glide over dry skin. NUFACE’s routine page specifically describes activators as the step used to conduct microcurrent to skin and facial muscles. That is why a regular facial oil, balm, or silicone-heavy primer is not an equal substitute.
A good device session should feel like smooth movement over wet skin. If the device drags, sparks a sharp sensation, or loses contact, add more gel. If the gel dries before you finish a zone, re-wet or reapply instead of pushing through.
A simple lifting map for beginners
Use your device’s printed map first. If it allows the standard facial zones, this is the most conservative beginner pattern.
Cheeks: start near the corner of the mouth and glide toward the ear. Repeat slightly higher from the side of the nose toward the mid-ear, then from the cheekbone toward the temple.
Jawline: start at the chin and glide along the jaw toward the ear. Keep the device flush so both electrodes stay in contact.
Brows: if the device permits brow use, lift from below the brow upward toward the hairline. Do not pass directly over the eyeball.
Neck: only use neck placement if the manual allows it. Avoid the front-center thyroid area and any area that feels uncomfortable.
How long and how often to use it
Follow the device manual over any generic schedule. For a beginner, the safer logic is consistency without irritation: short sessions, correct gel, and no extra pressure. If the brand recommends a starter phase followed by maintenance, do not compress that schedule into longer daily sessions.
The most useful tracking method is a same-light photo every two weeks. Same-day changes may reflect reduced puffiness, facial massage, hydration from the gel, or device effect. Longer-term claims should be judged more conservatively.
Evidence-weighted product context
NUFACE MINI+ is the clearest microcurrent-specific product in our current Amazon snapshot, but its Amazon rating count is modest at 56 ratings. Solawave and CurrentBody represent adjacent beauty-tech options rather than identical microcurrent replacements: a wand may be easier for small-area routines, while a full-face LED mask is more relevant when the goal is repeated skin-quality support. Olay’s fragrance-free moisturizer is included as a barrier-support product because irritated skin is a poor base for device use.
Using the BeautySift scoring rubric, microcurrent scores higher for accessibility and same-day cosmetic contour than for independent long-term evidence. Red-light devices score higher on evidence depth for skin-quality support. Moisturizers score higher for tolerability and barrier support, but they should not be described as lifting devices.
Contraindications and when to pause
Do not use a microcurrent device just because it is sold over the counter. Read the manual and follow its contraindications. Ask a clinician before use if you have an implanted electrical device, seizure history, unexplained facial pain, active skin infection, recent injectable or energy-based procedure, pregnancy-related device restrictions, or any medical condition the brand lists as a reason to avoid use.
Pause the device if skin burns, stings persistently, develops a rash, or feels more sensitive after each session. More frequency is not a fix for irritation.
Related BeautySift reading
Guide: How to firm sagging skin without injectables -> /guides/how-to-firm-sagging-skin-without-injectables-2026/
Guide: Barrier repair routine for perimenopause dryness -> /guides/barrier-repair-routine-perimenopause-dryness-2026/
Guide: How to fade dark spots after 40 -> /guides/how-to-fade-dark-spots-after-40-protocol-2026/